The Ultimate Guide to Essential HDMI Gadgets for a Seamless Multi-Device Setup
Introduction
For years, many of us treat HDMI accessories as nothing more than simple cables that merely connect one device to another. As long as there is a working HDMI port and a decent cable, we rarely think about the ecosystem surrounding them. That mindset begins to shift when we start upgrading our gaming and work setups with multiple monitors, streaming devices, gaming consoles, and newer gadgets that all need to work together seamlessly. This guide will walk you through the key HDMI gadgets that can transform your setup from a tangled mess into a streamlined, efficient hub.
What You Need
- HDMI Switch – for connecting multiple sources (e.g., console, PC, streaming stick) to one TV or monitor
- HDMI Splitter – for sending one source to multiple displays
- HDMI Audio Extractor – for separating audio from video to send to a sound system
- HDMI over Ethernet Extender – for transmitting HDMI signals over long distances using Cat6 cable
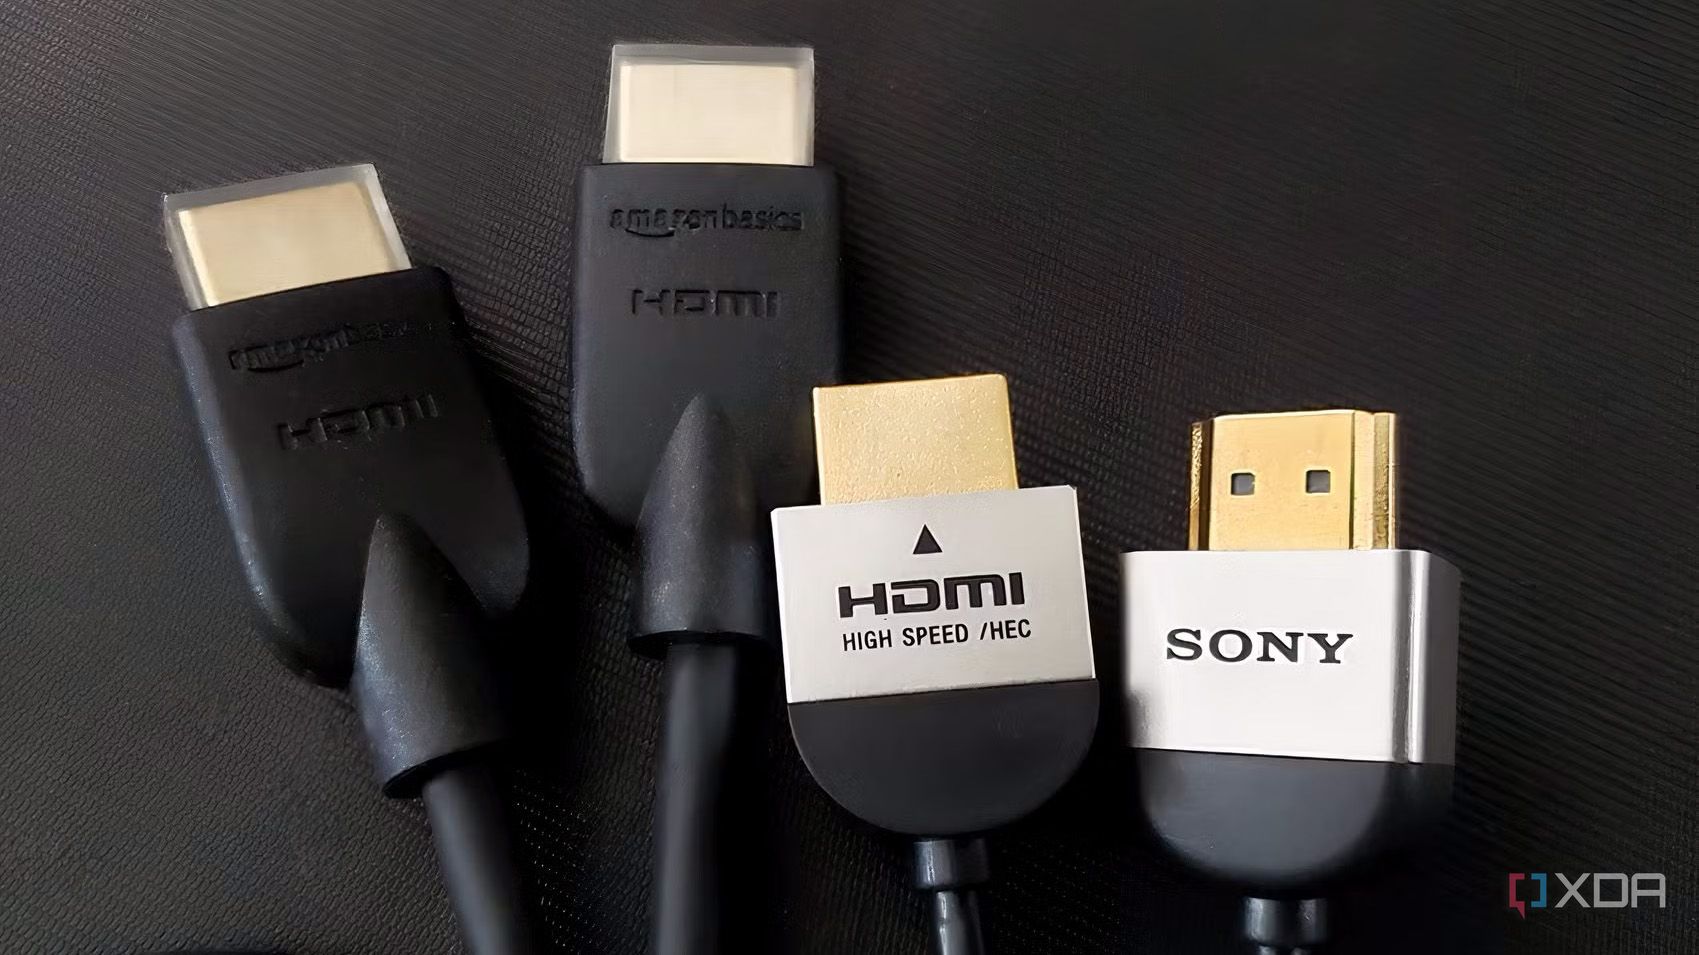
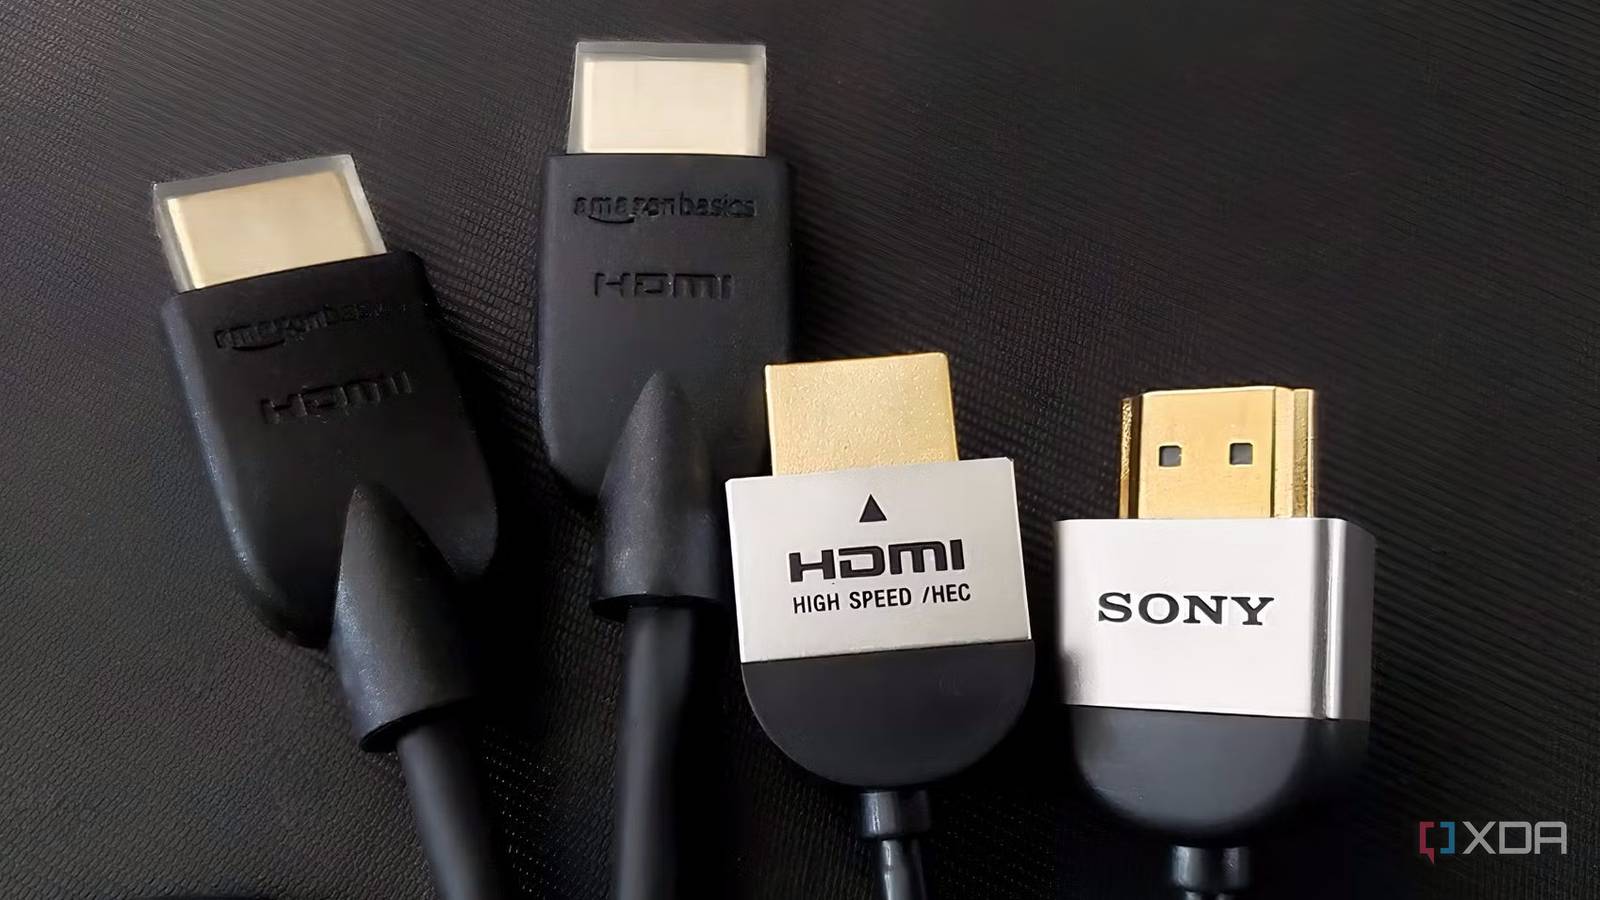
- High-speed HDMI cables (rated for your resolution and refresh rate)
- Power adapters (for powered switches, splitters, or extenders)
- Basic tools (cable ties, labels, screwdriver for mounting)
- A plan of your devices and layout
Step-by-Step Guide
Step 1: Evaluate Your HDMI Gadget Needs
Start by making a list of all your HDMI devices – gaming consoles, streaming boxes, Blu-ray players, PC, and any display monitors or TVs. Note the number of HDMI inputs on each display and the number of sources you need to connect at once. This reveals whether you need an HDMI switch (more sources than inputs) or an HDMI splitter (one source to many displays). Also note cable routing distances and audio requirements.
Step 2: Choose an HDMI Switch for Multiple Sources
If you have more source devices than available HDMI ports on your TV or monitor, an HDMI switch is your first essential gadget. It lets you connect multiple sources (e.g., PS5, Roku, PC) into the switch, then output a single cable to your display. Look for a switch that supports your desired resolution (4K HDR, 120Hz, etc.) and has auto-switching or a remote. Pro tip: Powered switches tend to be more reliable than unpowered ones for 4K signals.
Step 3: Add an HDMI Splitter for Multiple Displays
When you need to send the same video source to two or more screens – for example, a conference room or a gaming tournament – an HDMI splitter does the job. It duplicates the signal without degradation if you choose a powered splitter. Verify that the splitter supports your resolution and HDCP (content protection) requirements. For long cable runs from the splitter to each display, consider using an HDMI over Ethernet extender on each leg.
Step 4: Incorporate an HDMI Audio Extractor for Better Sound
Many modern TVs and monitors lack quality audio outputs or older soundbars use optical/analog inputs. An HDMI audio extractor pulls the audio track from the HDMI signal and sends it to a separate sound system via optical, coaxial, or RCA jacks. This gadget is invaluable when you want to use high-quality speakers while keeping video pure on your display. Ensure the extractor supports your audio format (e.g., Dolby Atmos, DTS) and passes video through without delay.
Step 5: Use an HDMI over Ethernet Extender for Long Distances
Standard HDMI cables struggle beyond 10-15 meters without signal loss. For long runs between rooms or across a large office, an HDMI over Ethernet extender uses a single Cat6 cable to transmit 4K signals up to 50 meters or more. You’ll need a transmitter (plugged into source) and a receiver (at the display), both requiring power. This gadget is a game-changer for home theaters or teaching spaces where the source is far from the projector.
Step 6: Connect and Configure Everything
Now that you have your gadgets, physically connect them: source devices → HDMI switch → splitter or audio extractor (if needed) → display(s). Power up everything in order: display first, then the HDMI gadget(s), then source devices. Use label makers or colored cable ties to keep track of which port corresponds to which source. Test each source on each display to confirm resolution, refresh rate, and audio are working correctly.
Step 7: Optimize Performance and Troubleshoot
If you encounter black screens, flickering, or no signal, start by checking cable quality and continuity. Ensure all devices support the same HDMI specification (e.g., HDMI 2.0b for 4K@60Hz). Disable HDMI-CEC (if not needed) to avoid unexpected switching. For audio extractors, confirm the output format matches your sound system. Finally, secure loose cables with clips or raceways to keep your setup tidy and reduce signal interference.
Tips and Conclusion
- Always purchase certified High Speed HDMI cables – they prevent most handshake issues.
- Use powered gadgets whenever possible for reliability, especially with long cable runs.
- Consider future-proofing – choose switches and splitters that support HDMI 2.1 if you plan to upgrade to 8K or 4K@120Hz.
- Test with one device at a time before adding more sources to isolate any compatibility issues.
- Mount your HDMI gadgets (using Velcro or a small rack) to keep your entertainment center organized.
By following these steps, you’ll move beyond thinking of HDMI as just cables and instead embrace a complete ecosystem that makes your multi-device setup effortless, reliable, and enjoyable. The four gadgets described – switch, splitter, audio extractor, and extender – are the cornerstones of that transformation.
Related Discussions